
Blog
Calisthenics Workout Plan | 4-Week Progression for Beginners

Starting calisthenics feels backwards at first. You’re basically trying to lift your own body weight when you can barely do five push-ups. But that’s exactly why it works so well – you’re forced to build real functional strength rather than just moving weights around.
This isn’t about jumping straight into human flags or one-arm push-ups. Those flashy moves come much later. Right now, you need to master the basics and build the foundation that everything else sits on.
What Makes Calisthenics Different
Most gym workouts isolate muscles. Calisthenics forces your entire body to work together. When you do a proper push-up, you’re not just working your chest – your core is stabilizing, your legs are engaged, and your back is supporting the movement. It’s like the difference between learning to play individual notes versus learning to play a song.
Your body weight is your resistance, which means the difficulty automatically scales with your strength. Get stronger, and the exercises become more time manageable. Get heavier, and they become more challenging. It’s built-in progression that you can’t cheat.
Before You Start: The Reality Check
You need to be honest about where you’re starting from. Can you do a full push-up with proper form? Can you hang from a bar for 30 seconds? Can you hold a plank for a minute without your hips sagging?
If the answer is no to any of these, that’s completely fine. We’ll start with modifications that actually work your muscles instead of just going through the motions.
Week 1-2: Building the Foundation
The first two weeks aren’t about impressive numbers. They’re about learning proper form and building basic strength in the movement patterns you’ll use later.
Schedule: 3 days per week (Monday, Wednesday, Friday work well) Rest: 48-72 hours between sessions Duration: 20-30 minutes per workout
Upper Body Foundation
Push-Up Progression Start with incline push-ups against a bench, chair, or wall. The higher your hands, the easier it gets. Find an angle where you can do 8-12 reps with perfect form.
Keep your body in a straight line from head to heels. Your hands should be slightly wider than shoulder-width, positioned under your chest, not way up by your shoulders. Lower until your chest almost touches the surface, then push back up.
Do 3 sets of 8-12 reps. When you can hit 12 reps easily, move to a lower surface.

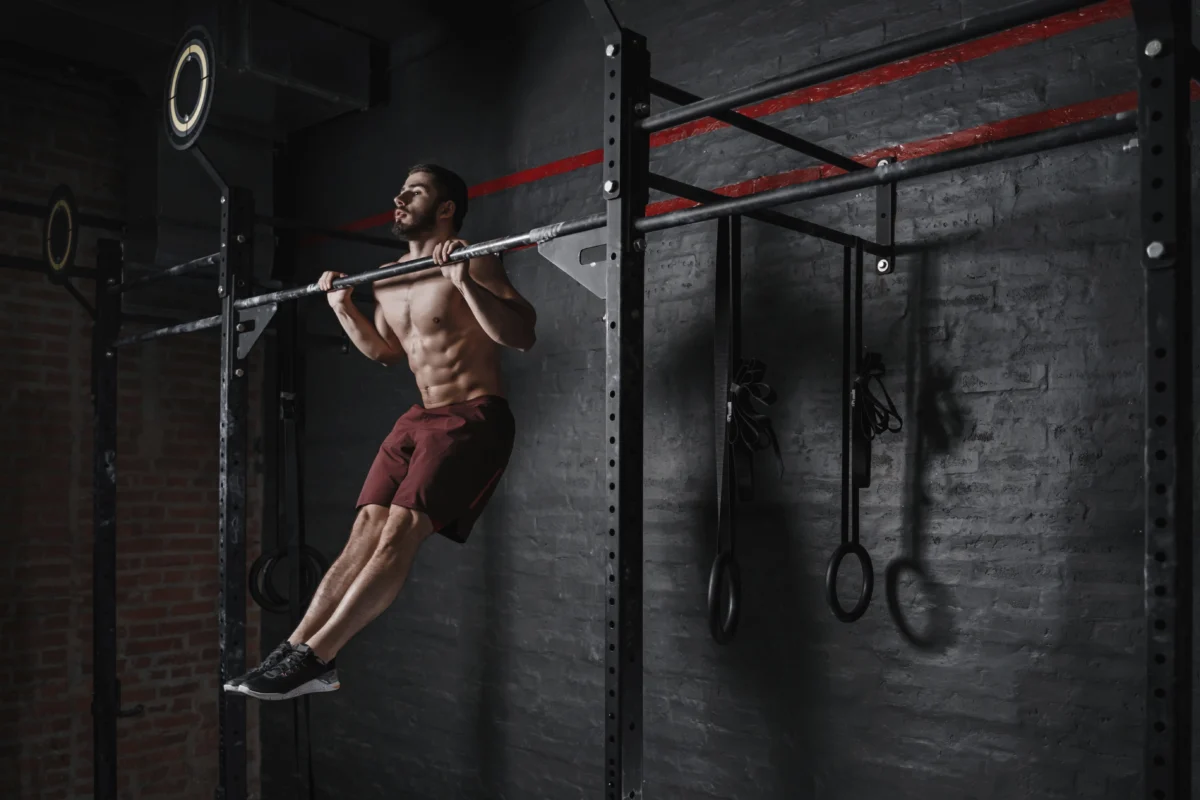
Pull-Up Preparation Unless you can already do pull-ups, start with dead hangs and negative pull-ups. Dead hangs build grip strength and get your shoulders used to supporting your body weight.
Grab a pull-up bar with palms facing away, shoulder-width apart. Hang for as long as you can, aiming to build up to 30 seconds. Keep your shoulders engaged – don’t just dangle there like a wet towel.
For negatives, jump up to the top position of a pull-up, then lower yourself down as slowly as possible. This builds the same muscles as pull-ups but gives you assistance on the hardest part.
Lower Body Foundation
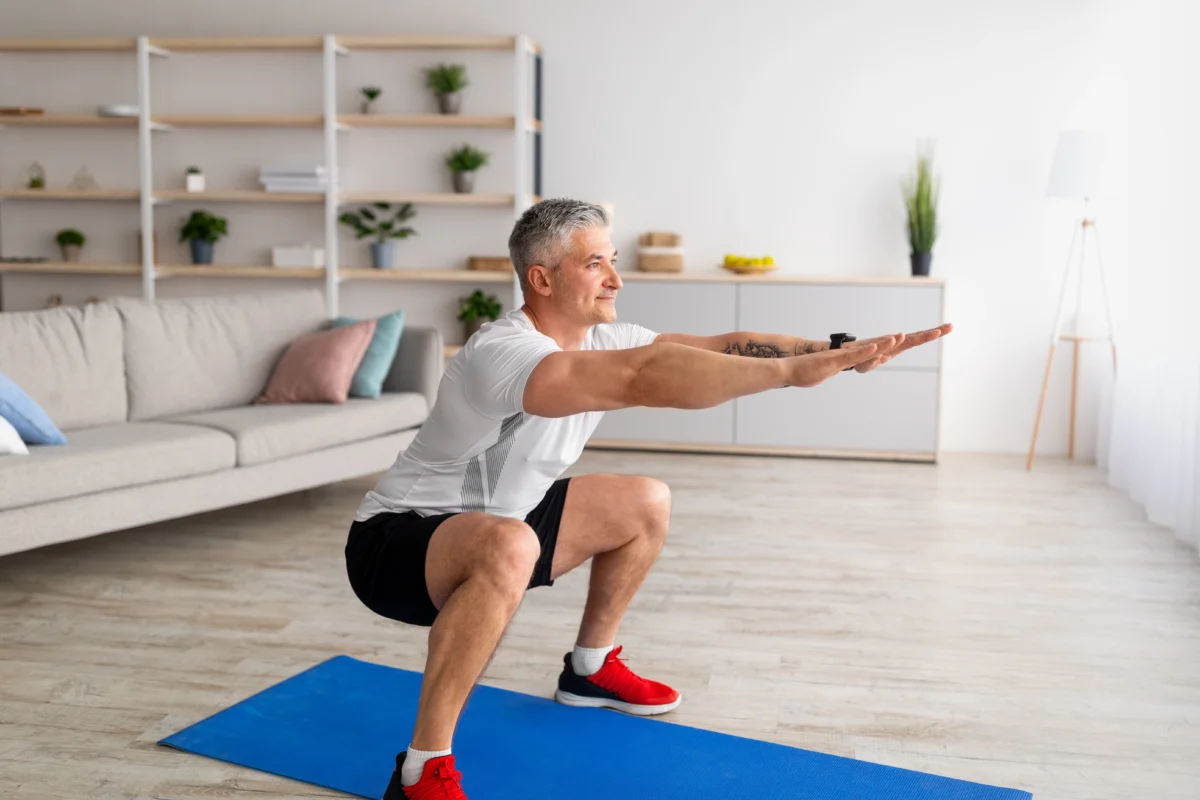
Squat Progression Bodyweight squats seem simple until you realize how many people do them wrong. Stand with feet shoulder-width apart, toes slightly turned out.
Lower down like you’re sitting back into a chair. Your knees should track over your toes, not cave inward. Go as low as your mobility allows – ideally until your hip crease is below your knee level. Keep your chest up and core tight throughout.
Start with 3 sets of 10-15 reps. Focus on control, not speed.
Single-Leg Glute Bridges Lie on your back, one foot flat on the ground, other leg extended. Push through your heel to lift your hips up, squeezing your glutes at the top. Lower with control.
This exercise fixes imbalances and builds the posterior chain strength you need for more advanced movements later.
3 sets of 8-10 per leg.
Core Foundation
Plank Hold The plank teaches you how to brace your core properly. Get in a push-up position but on your forearms instead of your hands. Your body should be completely straight – no sagging hips, no butt in the air.
Start with holds of 20-30 seconds, build up to 60 seconds. If you can’t maintain proper form, drop to your knees or take a break.
[Core Exercise Diagrams showing plank form, pike push-ups, and hollow body holds]
Dead Bug Lie on your back, arms straight up toward the ceiling, knees bent at 90 degrees. Lower your right arm overhead while extending your left leg, keeping your lower back pressed to the floor. Return to start, repeat on the other side.
This teaches core stability while moving your limbs – exactly what you need for more complex calisthenics movements.
3 sets of 8-10 per side.
Sample Week 1-2 Workout
Warm-up (5 minutes):
- Arm circles: 10 forward, 10 backward
- Leg swings: 10 per leg, forward/back and side to side
- Bodyweight squats: 10 slow reps
- Push-up position holds: 20 seconds
Main workout:
- Incline push-ups: 3 sets of 8-12
- Dead hangs: 3 sets, hold as long as possible
- Bodyweight squats: 3 sets of 10-15
- Single-leg glute bridges: 3 sets of 8-10 per leg
- Plank hold: 3 sets of 20-60 seconds
- Dead bug: 3 sets of 8-10 per side
Cool-down (5 minutes):
- Chest stretch against wall: 30 seconds per arm
- Hip flexor stretch: 30 seconds per leg
- Cat-cow stretches: 10 reps
Week 3-4: Adding Complexity
By week three, you should notice your form getting cleaner and the exercises feeling more manageable. Time to add some complexity and start working toward full versions of the basic movements.
Advancing Your Push-Ups
If you’ve been doing incline push-ups, try moving to a lower surface or transitioning to knee push-ups. The goal is to work toward full push-ups from your toes.
For knee push-ups, make sure you’re still maintaining that straight line from your knees to your head. Don’t let your hips sag or pike up.
Once you can do 10 clean knee push-ups, try mixing in some full push-ups. Even if you can only do 2-3, that’s progress.
Pull-Up Progression
Continue with dead hangs and negatives, but add in some assisted pull-ups if you have access to resistance bands or an assisted pull-up machine.
You can also try Australian pull-ups (also called inverted rows) using a low bar or suspension trainer. Lie underneath the bar, grab it with an overhand grip, and pull your chest up to the bar while keeping your body straight.
Dynamic Movements
Jumping Squats Once regular squats feel easy, add a jump at the top. Land softly, absorbing the impact through your entire leg, not just your knees.
Start with 3 sets of 5-8 reps. These are more intense than regular squats, so don’t go crazy with the volume.
Pike Push-Ups These start building the shoulder strength you’ll need for handstands and other advanced movements. Get in a downward dog position, walk your feet closer to your hands to make an inverted V shape.
Lower your head toward the ground between your hands, then press back up. This primarily works your shoulders and upper chest.
3 sets of 5-8 reps.
Core Progression
Mountain Climbers Get in a plank position and alternate bringing your knees toward your chest. Keep your hips level and your core tight throughout.
Start slow and controlled – these aren’t meant to be frantic. 3 sets of 10 per leg.
Hollow Body Hold Lie on your back, press your lower back into the floor, and lift your shoulders and legs off the ground. You should look like a banana, with just your lower back touching the floor.
This position is crucial for more advanced calisthenics movements. Hold for 10-20 seconds to start, build up to 45 seconds.
Sample Week 3-4 Workout
Warm-up (5 minutes): Same as weeks 1-2, but add dynamic movements like leg swings and arm circles with more range of motion.
Main workout:
- Push-ups (modification as needed): 3 sets of 5-12
- Pull-up progression: 3 sets of current ability
- Jumping squats: 3 sets of 5-8
- Pike push-ups: 3 sets of 5-8
- Mountain climbers: 3 sets of 10 per leg
- Hollow body hold: 3 sets of 10-45 seconds
Cool-down (5 minutes): Add shoulder stretches and hip flexor stretches, hold each for 30 seconds.
Form Over Everything
The biggest mistake beginners make is rushing through reps with terrible form. A sloppy push-up where your hips sag and you barely lower halfway teaches your body the wrong movement pattern and doesn’t build much strength.
Five perfect push-ups beat twenty terrible ones every single time.
Watch yourself in a mirror or record yourself if possible. Your form will probably be worse than you think at first – that’s completely normal.
Progressive Overload in Calisthenics
Since you can’t just add weight plates, progression in calisthenics happens in different ways:
Increase reps: Once you can do 12-15 clean reps, work on harder variations Decrease leverage: Move from incline to regular to decline push-ups Add complexity: Single-arm variations, different tempos, pausing at different points Increase time under tension: Slower negatives, pause reps, isometric holds
Common Problems and Solutions
“I can’t do a single pull-up” Most people can’t. Start with dead hangs and negatives. If you can hang for 30 seconds and do 5 controlled negatives, you’re probably a week or two away from your first pull-up.
“My wrists hurt during push-ups” Try doing push-ups on your fists instead of flat palms, or get some push-up handles. Also work on wrist mobility – most of us have tight wrists from computer work.
“I get tired too quickly” You might be trying to go too fast. Calisthenics isn’t cardio – take 60-90 seconds rest between sets. Focus on quality over speed.
“I’m not seeing results” Take progress photos and track your reps. Strength gains in calisthenics can be subtle at first. Going from 3 push-ups to 8 push-ups is massive progress, even if it doesn’t feel like it.
What Comes After Week 4
By the end of four weeks, you should have a solid foundation in the basic movement patterns. You might be able to do a few full push-ups, hang from a bar for 45+ seconds, and hold a plank for over a minute.
The next phase involves building toward intermediate movements like archer push-ups, chin-ups, pistol squats, and handstand progressions. But master the basics first – everything else builds on what you’re learning now.
Nutrition and Recovery
Calisthenics recovery is similar to any other strength training. You need adequate protein for muscle repair and enough carbs to fuel your workouts.
Sleep matters more than most people realize. Your muscles actually grow during rest, not during the workout itself. Aim for 7-8 hours of quality sleep.
Listen to your body. Some muscle soreness is normal, especially in the first week. Sharp pain or joint discomfort is not normal – that’s your signal to back off or check your form.
Equipment You Actually Need
The beauty of calisthenics is the minimal equipment requirement. For this beginner program, you need:
- A pull-up bar (doorway bars work fine)
- Something for incline push-ups (chair, bench, stairs)
- Floor space for bodyweight movements
That’s it. No gym membership, no expensive equipment, no excuses about not having the right gear.
Tracking Your Progress
Keep a simple log of what you did each workout. Note the exercise, sets, reps, and any modifications. Seeing “incline push-ups, 3 sets of 8” turn into “regular push-ups, 3 sets of 12” over the course of a month is incredibly motivating. Take a baseline video or photo of yourself doing each exercise in week one. You’ll be amazed at how much cleaner your form looks after just four weeks of consistent practice.
Important Safety Note: This program assumes you’re healthy enough for physical activity. If you have any medical conditions, joint problems, or haven’t exercised in years, consult with a healthcare provider before starting any new workout routine. Stop immediately if you experience chest pain, dizziness, or severe joint discomfort.